4 Steps to Apply Silicone Sealant
4 Steps to Apply Silicone Sealant
Contents
– How to choose a silicone sealant cartridge?
– Step 1: Clean the space on which you will apply the sealant
– Step 2: Cut off the end of the silicone sealant cartridge
– Step 3: Apply the silicone sealant
– Step 4: Smooth the silicone seal
Applying a silicone seal is a simple process, and you can do it yourself.
Silicone sealant has many advantages: it adheres to all surfaces, it is waterproof and resistant. It is generally used in rooms such as the kitchen or bathroom, where it is applied between the walls and sanitary equipment (sink, bathtub…).
How to choose a silicone sealant cartridge?
There are two types of silicone sealant cartridges:
– manual cartridges (which require the use of a gasket gun);
– automatic cartridges.
Equipment to apply a silicone sealant.
Grouting gun
Grouting spatula
Cutter
Bleach
Sponge
Case 1: How to use a manual cartridge?

Sergeant (SGT) Mike Mann of the 18th Aircraft Generation Squadron repairs a fuel leak with a silicone sealant during Exercise CORAL SEA ’85.
The manual cartridge is inserted into a gasket gun (also called an extruder gun). To apply the sealant, pull the trigger to push the sealant out of the gun.
Case 2: How to use an automatic cartridge?
The automatic cartridge does not require you to use a gun; it contains a pressurized gas to extract the sealant.
1. Clean the space where you are going to apply the sealant
Before applying a silicone sealant, you need to clean the area where you will use it. Proceed as follows:
– Remove dust with a damp cloth.
– Remove grease with bleach or methylated spirits.
– Let it dry.
– Next, tape the areas where the seal should not extend to protect your fixtures.
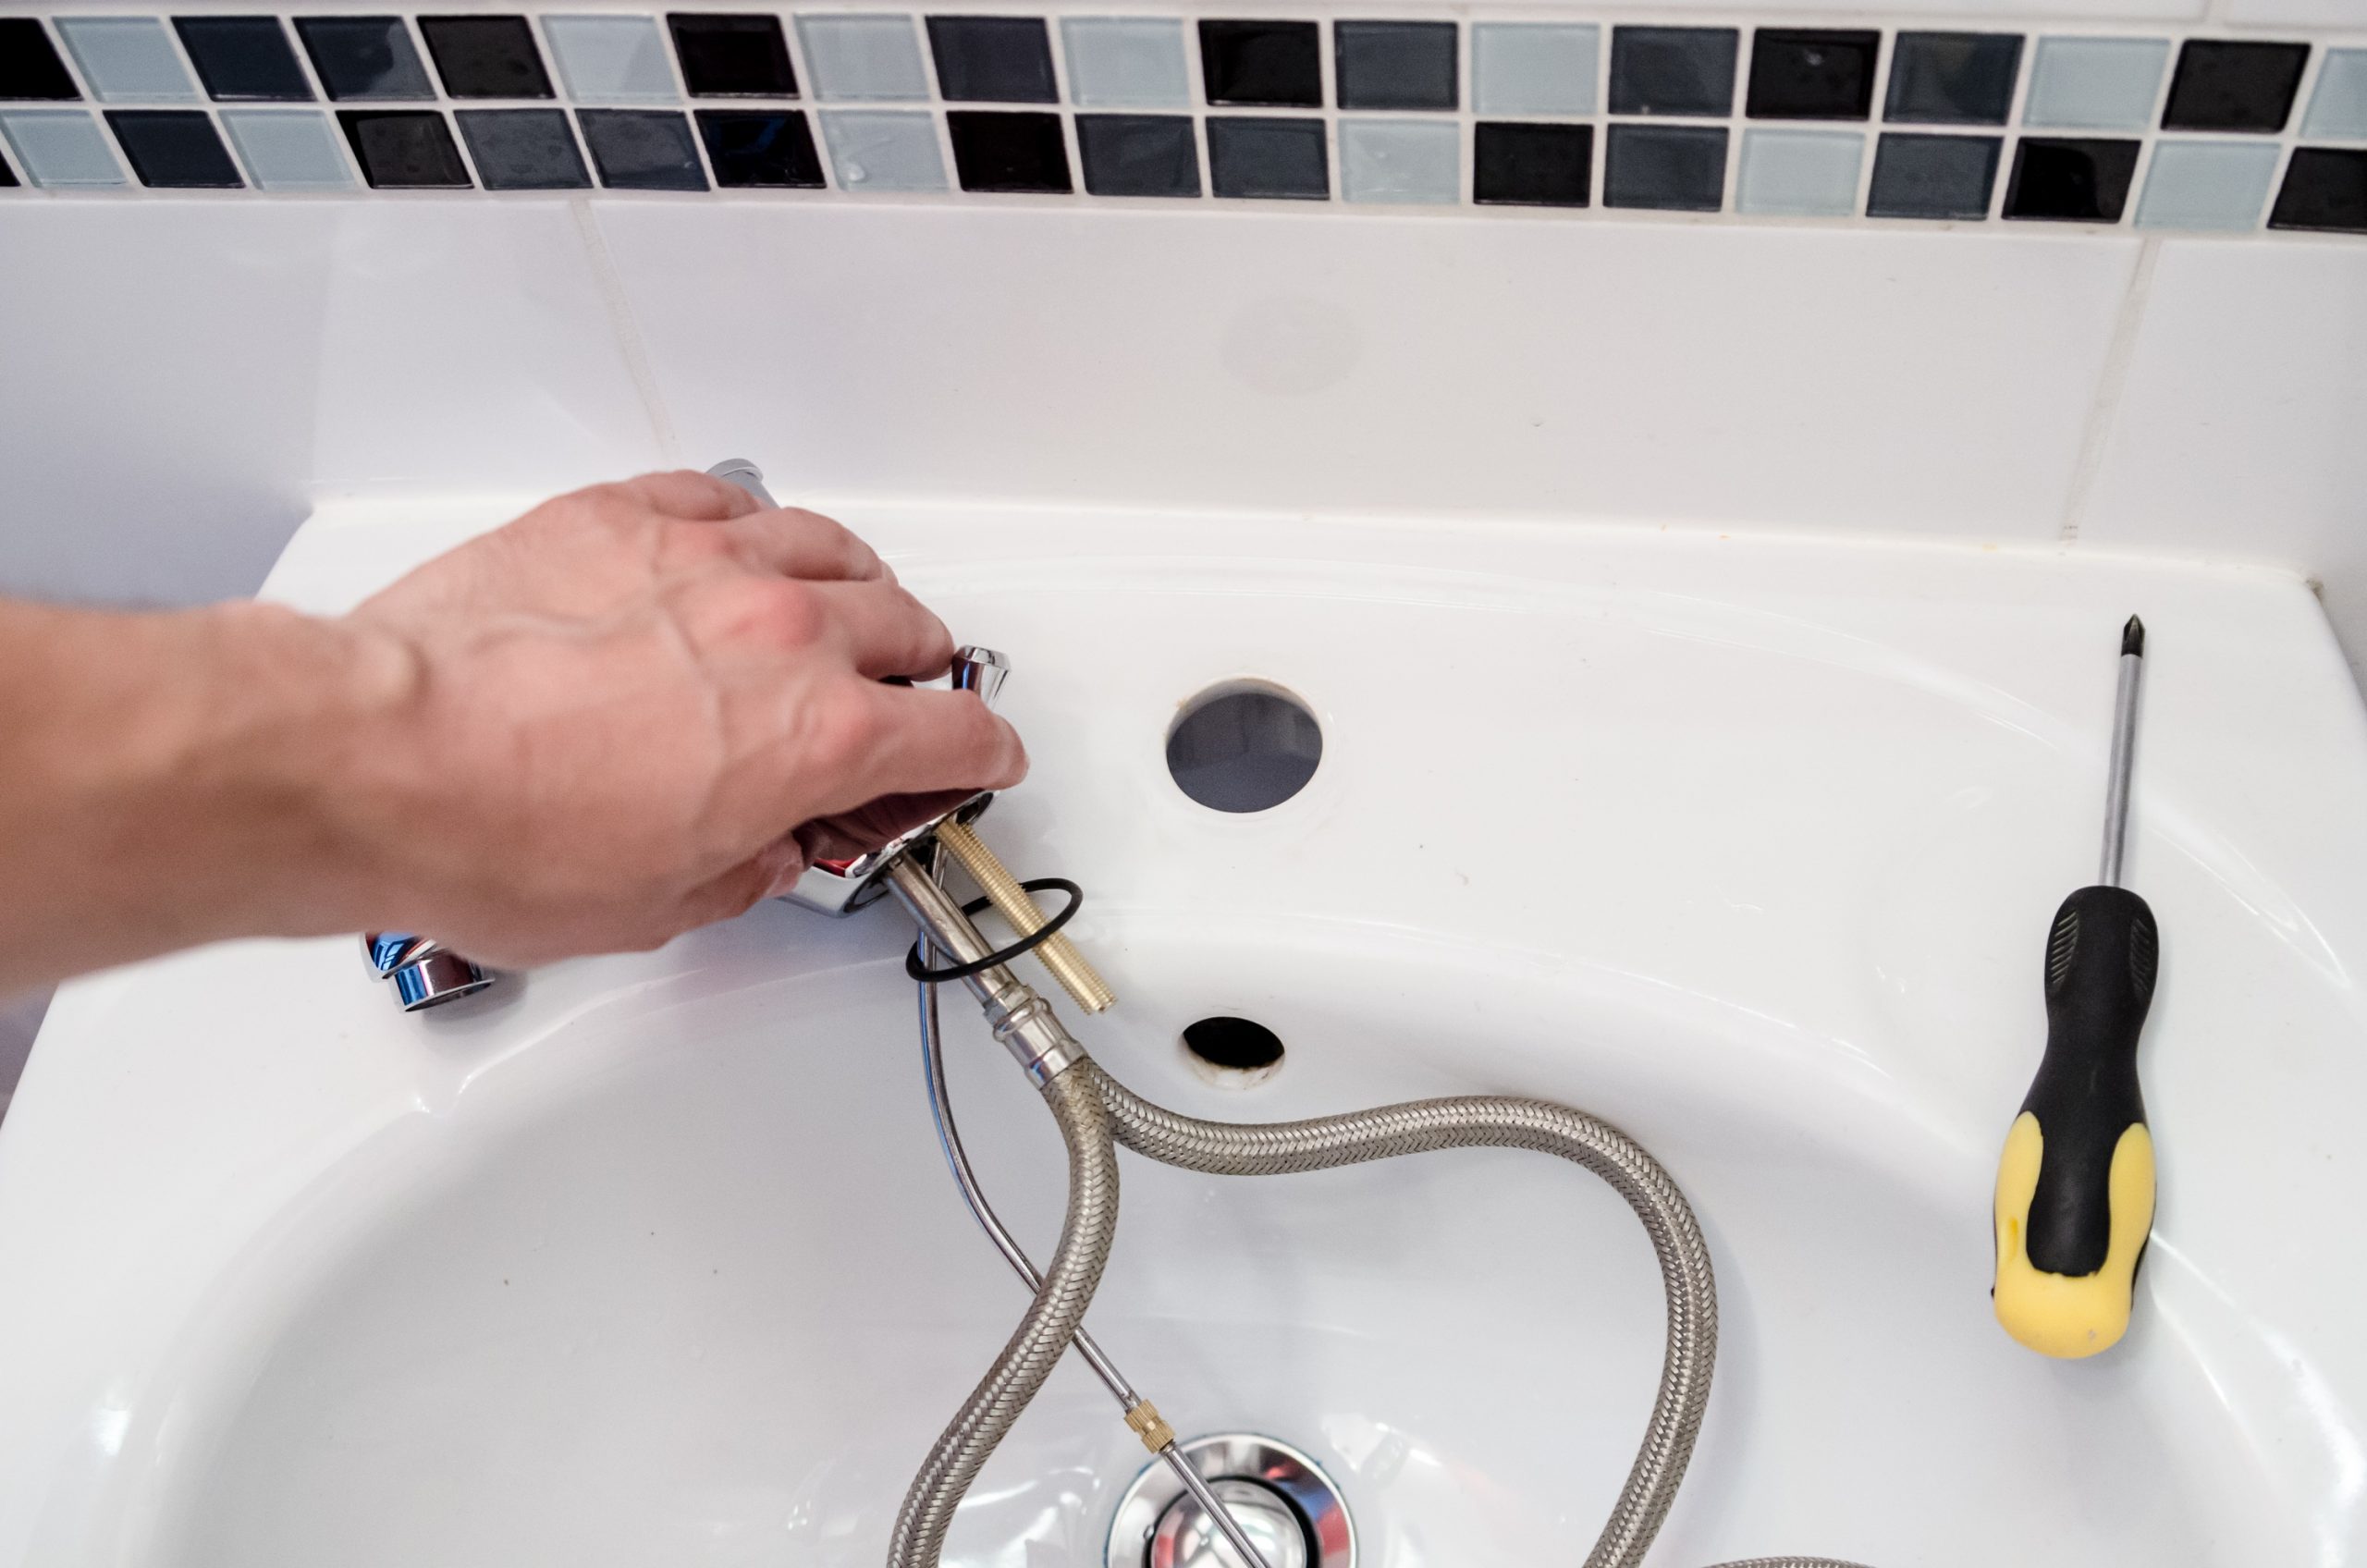
Tip: If you need to apply a seal behind a faucet, disassemble it.
2. Cut the end of the silicone sealant cartridge
Cut the end of the silicone sealant cartridge with the cutter at an angle.
Caution: Be sure not to pressurize the cartridge before cutting off the tip. Do not press the regulator of the automatic cartridge or the trigger of the sealant gun.
3. Apply the silicone sealant
To apply the silicone sealant, pull the trigger on the sealant gun (or the trigger on the automatic cartridge).
– Proceed slowly, at your own pace, to achieve an even thickness of sealant over the entire surface.
– Apply the silicone sealant continuously, without stopping.
– Do not back up, or you may end up with too much material in one place.
4. Smooth the silicone sealant
Once you’ve applied the entire silicone sealant, you’ll need to smooth it out to round out its shape and achieve an even result.
You can smooth a silicone seal with your finger or a special spatula.
Case 1: Smoothing the silicone seal with your finger
– Coat your finger with soapy water or dish washing liquid so that it does not stick to the joint.
– In one continuous motion, smooth the joint into a curved shape without pressing on it or moving the sealant.
– Once the smoothing is complete, let the joint dry for at least half a day.
– Wash your hands immediately afterward.
Case 2: Smoothing the silicone joint with a special spatula
This unique small spatula is often supplied with a silicone sealant cartridge.
– Moisten the spatula with dish washing liquid so that it does not stick to the joint.
– Gently smooth the seal into a curved shape.
– Do not press on the joint or move the sealant.
– After smoothing, let the joint dry for at least half a day.
Hope this post helps you out. Remember to share your experience in the comments below.


[…] Having a job is of paramount importance these days. Indeed, there are many jobs in the world. The fact…
[…] Personally, I need a hot shower whether we are in winter or summer because I don’t feel clean otherwise,…
[…] Sound off in the comments section below, and tell us what you want to read next and if you…
[…] unfortunately, when it concerns a major plumbing issue, a botched job might end up causing a lot of harm…
[…] overestimate your talents, either. Sure, some simple jobs (like prevention!) can be done by a handy homeowner. But don’t…